How to Get Facebook New TimeLine Feature Know Here


The most popularly used social media application Facebook has announced brand new feature called ‘TIMELINE’. The feature is introduced to share older status updates and all vital events of life with others. All current status updates will be deleted forever once they are taken off your Facebook profile. According to Zuckerberg, Facebook will represent first 5 minutes of a person life to someone new listed in your friend list. But this Timeline feature will be considered as next forward step in describing life story to new members.
What Is TIMELINE?
Using Timeline feature, entire life story of user will be listed in single page including dates of your choice. The page look like a personal blog including a huge cover image at the top and the page comprises of all important updates displayed in reverse chronological order. In this feature Facebook will automatically select all vital updates from account of users and will list them in blue dots. There are grey dots that represent updates those are not so important. Users can organize their Timeline by filtering updates and other events those are very important and less necessary accordingly. Additionally, Users can also apply filters to Timeline such as images and places you visit. Within the time period of week or month, this Timeline feature will be visible to users but if required developers can sign up for early access.
How To Get Timeline Enabled?
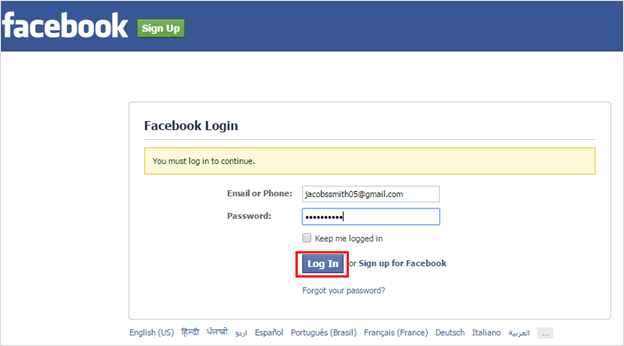
Step 1: – Log into your Facebook account and enable it by following these simple steps.
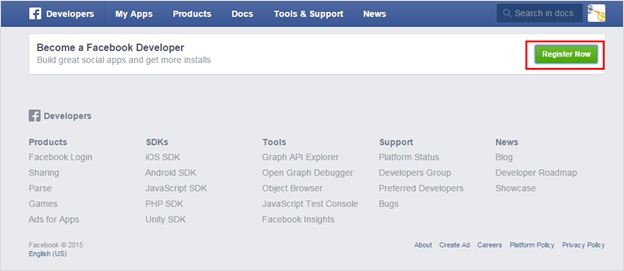
Step 2: – Following screen will open on screen, click on ‘Register Now’ option.
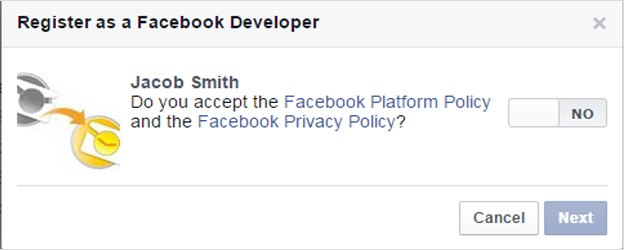
Step 3: – This will ask you for confirmation, click on ‘Yes’ and ‘Next’ to proceed to next step.
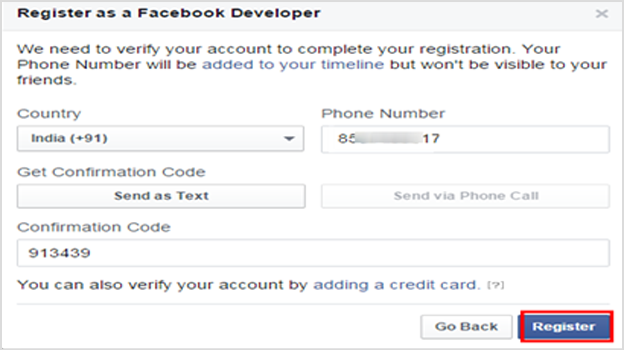
 Step: – 4 When you click on Next, it will ask you to confirm you phone number. After confirming code, click on ‘Register’ option.
 Step: – 5 It will prompt a message on computer screen stating registration is done, click on ‘Done’ to complete it.
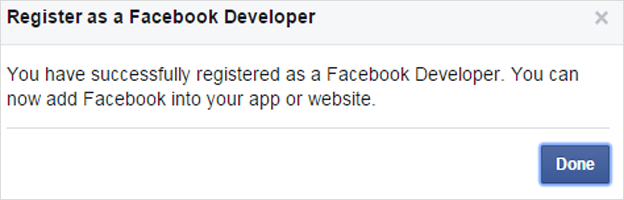
Step: – 6 Now choose desired platform your creating new app, we will choose ‘Facebook Canvas’ and continue the process.
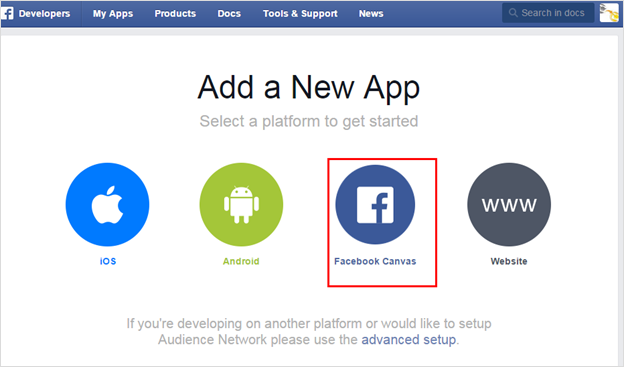 Step: – 7 Now from the top right corner select ‘Create App ID’ option.
 Step: – 8 Provide Display name and Namespace and click on Create App ID to proceed to next.
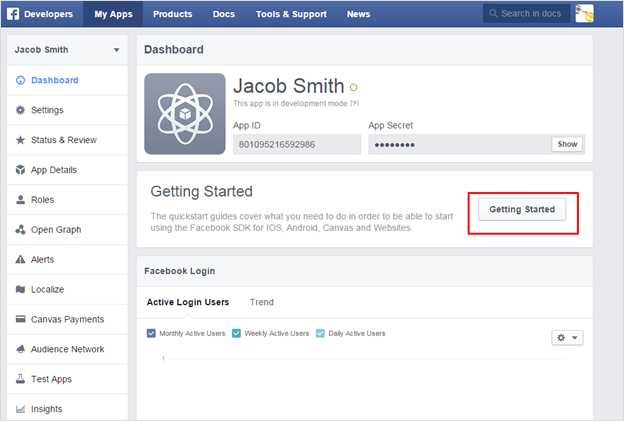
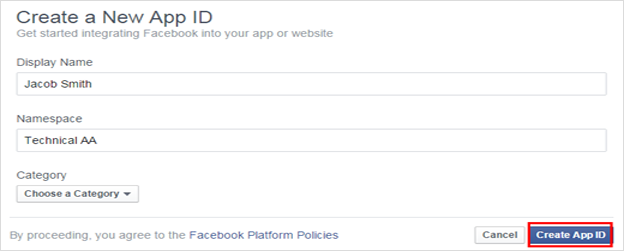 Step: – 9 CAPTCHA verification will be provided, after filling it you will be taken to New Apps settings screen. Click on ‘Get started’.
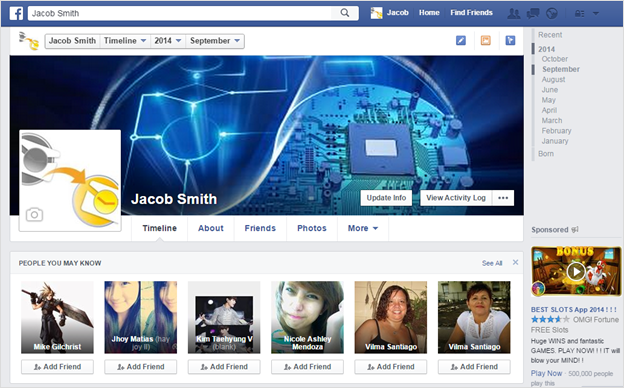
 That’s it! There may be errors showing you something went wrong ignore them and go to Facebook homepage. You will be introduced to new Facebook Timeline Beta (Might take time). Once you are in, you can take a view of all timeline updates and events.
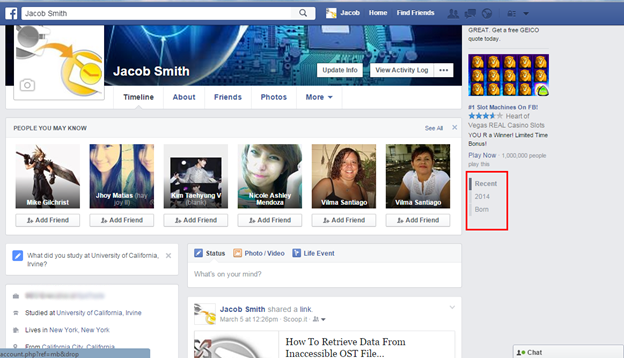 In the above shown image, on right corner of the screen a new column will be visible to users. Expanding it will provide an overview of all events covered in year, month or week.
 Conclusion
Timeline feature introduced in Facebook gives an easy way to remember all updates and events you share with others. It allows you to share fresh new experience and listen to favorite music listed on your timeline.