How to Export Data from SQL Server to Excel Effortlesly
In simple words, SQL is defined as a database management system that stores the DB in tabular form. This Defination generally results in another query which is “Is SQL Server similar to MS Excel?” and the answer to this is no.
Although Excel is one of the efficient ways to storing database in a tabular manner but it does not creates a relation between the tables. On the other hand, SQL Server is a relation database management system which makes it completely different Excel.
Although there is no technical reason why there would be requirement to export SQL data into Excel spreadsheet; there are scenarios when there is need to save SQL tables into Excel. Below given is a simple techniques exemplifying how the tables in SQL Server database can be exported to Excel.
Step 1: Create an Excel Sheet
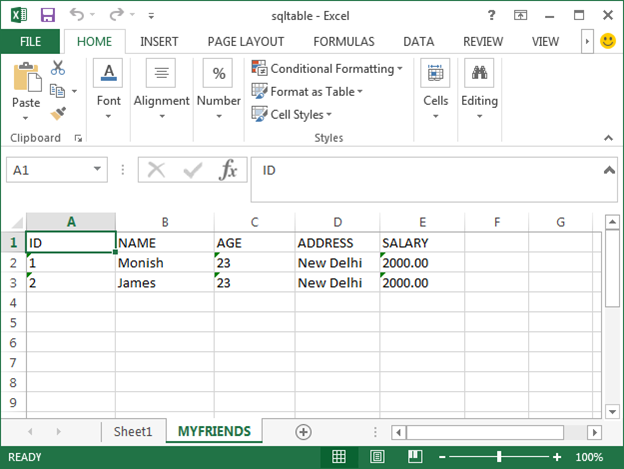
The first step is to create an Excel spreadsheet to save the SQL table data. Add the fields that are in the table of SQL database.
Step 2: Start SQL Import-Export Wizard
The process to export the SQL data into Excel is accomplished by the Import and Export Wizard. To start it, follow the below mentioned steps:
In the Start menu, click on “All Programs”, choose “Microsoft SQL Server 2008” and select “Import and Export Data”.
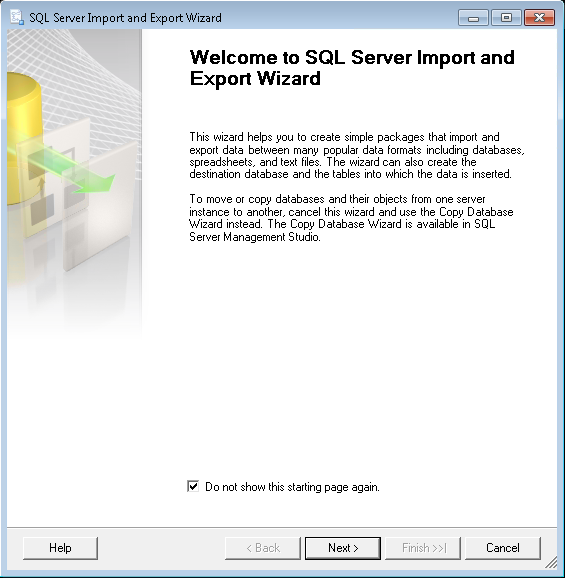
A welcome page will appear in screen. Click “Next” to proceed.
Step 3: Choose a Data Source
In the “Data Source” box, there is a dropdown list using which you can select the source where the table to export is saved. Choose the default option “SQL Server Native Client 10.0”.
In the “Server Name” box, enter the name of Server where the table is saved.
Chose the authentication type in use. If it is SQL Server Authentication, provide username and password to login.
In the “Database” section, provide name of the database where the table to export is saved.
Click Next.
Step 4: Choose Spreadsheet Destination
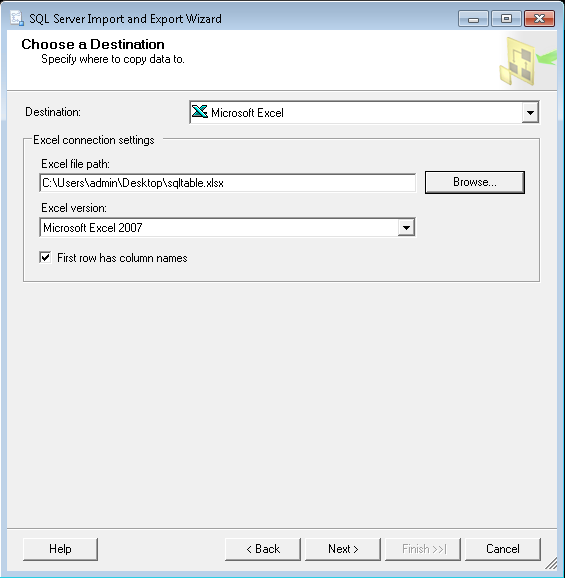
In the “Destination” box, use the dropdown menu and select “Microsoft Excel”.
In the “Excel File Path” box, provide a location where the resultant Excel file should be saved.
In the “Excel Version” use the dropdown menu to select the Excel version.
Since the Excel file is created with first column, make sure that you select the check box for “First row has column names” enabled.
Click Next.
Step 5: How to Copy SQL Data
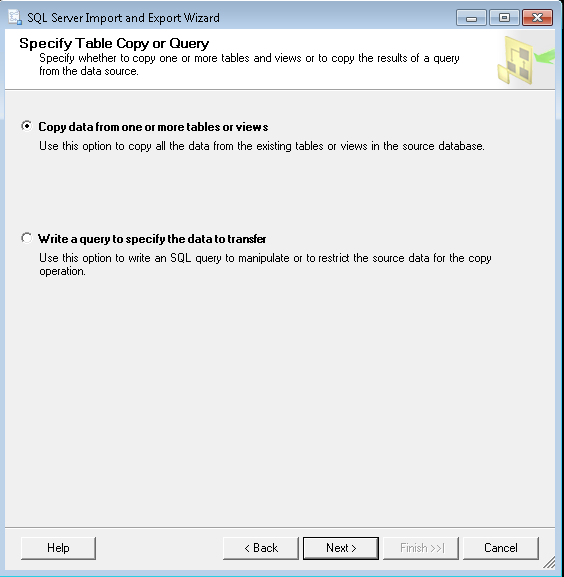
The secure option here is “Copy data from one or more tables or views”. Select it and click Next.
Step 6: Select Source Table
In the “Destination” box, enter name of the Excel spreadsheet that was created in Step 2.
To check out how the SQL table will appear in the Excel sheet, click “Preview”. Click Next to continue.
Step 7: Run Package
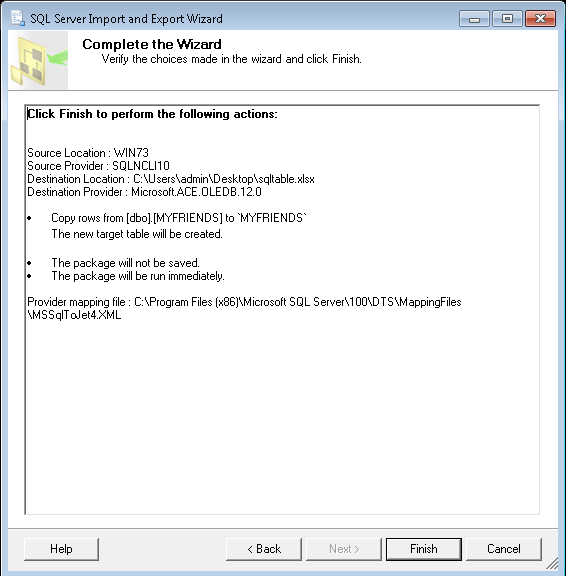
The package is the settings that have been configured so far. If the licensed version is used, these settings ca be saved and reused. However, in the Express version which is free, the information has to be provided again and again.
Step 8: Verification Step
Click on the “Report” button to check the information about the export process.
If there is an error that number of rows are incorrect, then check out that Excel spreadsheet is exactly same as the SQL table.
Click Close.


